
Monthly Scrapbook Calendar Pages

Hi there!! Today I have this project featured over at She's a Sassy Lady ! You can read the "book" that I wrote about this project by visiting her site! :-) Suffice it to say that I believe that our everyday moments are just as important as the big events so they should be celebrated too! I simply hang each month's calendar page on my fridge and write all of our comings and goings on it. At the end of the month, I put it in our family scrapbook and put all the pictures from that month in the album behind it. I've been using this "system" for years now and it really helps me stay on top of our pictures since we take so many! Even if I don't get the pictures in my album right away, I have them sorted by the month so I can easily scrap them when I have the time! All of these pages are, obviously, 12x12 and I have used a Creative Memories calendar grid. I have used various cricut cartridges for the die cuts and have those detailed under each picture.  I hope this inspires you to celebrate and remember all of the everyday moments in your lives!
This is my current page that is on my fridge right now.
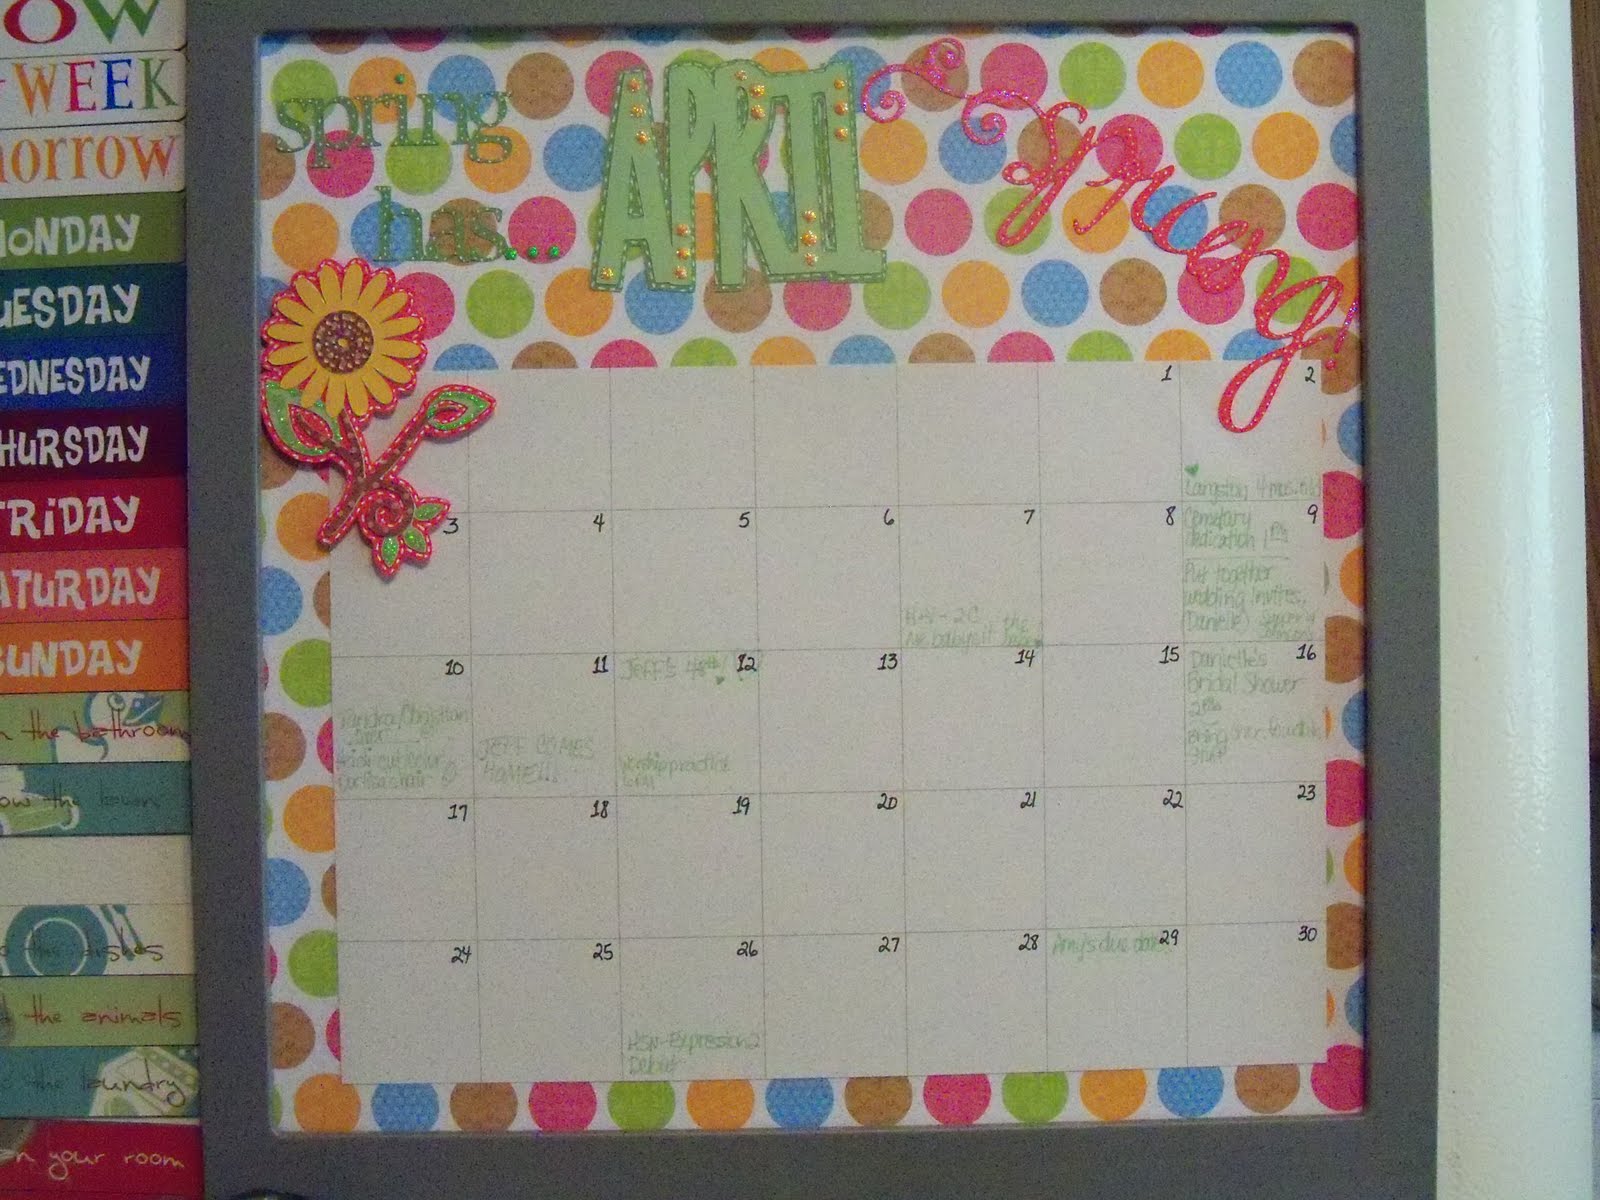
APRIL - Designer's Calendar
FLOWER, "spring has", "sprung" - Creative Memories Cheerful Seasons
Stickles

AUGUST - Designer's Calendar
"Happy Trails" - Going Places
CLOCK, SUN - Designer's Calendar

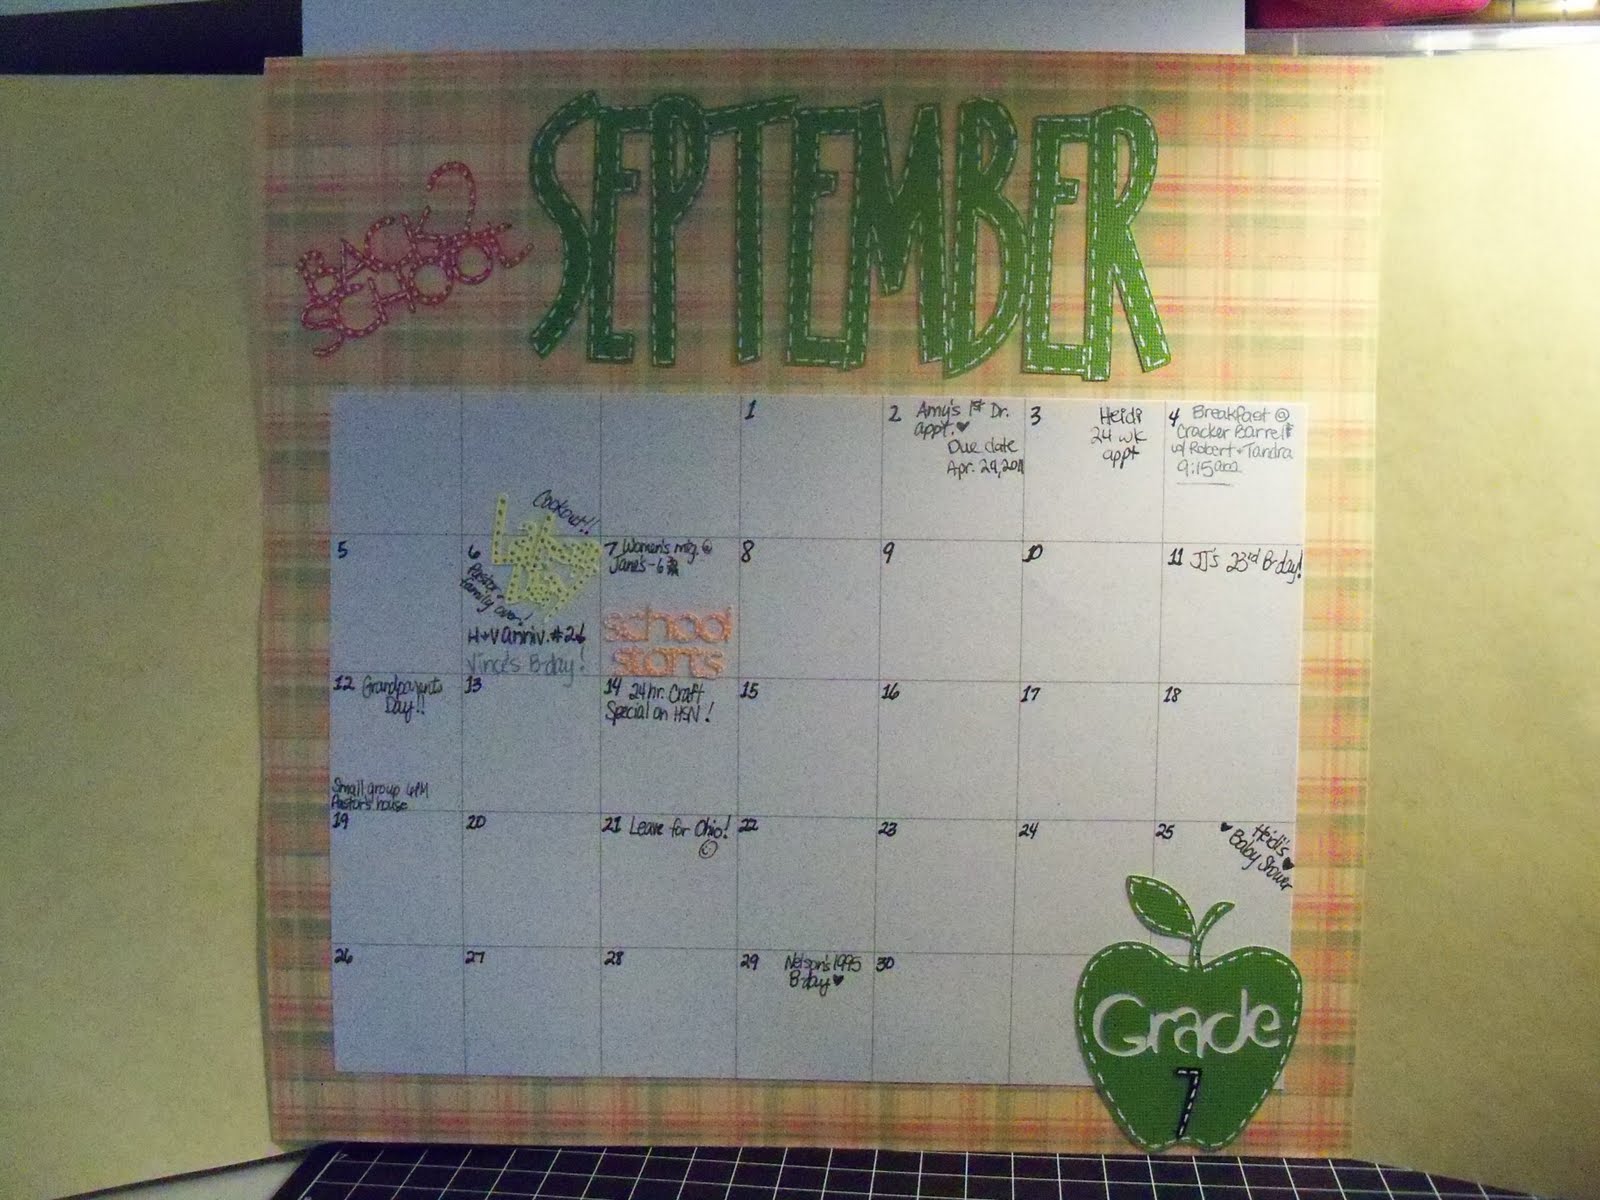
SEPTEMBER - Designer's Calendar
"Back to School", "Labor Day", "school starts" - Designer's Calendar
APPLE, "7" - Makin' the Grade

background paper - DCWV
pumpkin shapes - preloaded Imagine shapes also printed on the Imagine
Sticker letters - Creative Memories


All elements from the November Club Ruby kit. Check out Club Ruby Designers ! This is a great monthly club that is full of wonderful inspiration!

DECEMBER - Designer's Calendar
ANGEL, TREES - Winter Frolic
Stickles

JANUARY - Designer's Calendar
background paper - Mr. Frosty Imagine cartridge
snowflakes - Creative Memories Cheerful Seasons and printed from Mr. Frosty cartridge
Stickles

FEBRUARY - Thickers
background paper and all die cuts - Imagine Yummy cartridge
Stickles

MARCH - Creative Memories sticker letters
all other stickers - DCWV Spring sticker pack
background paper - from a Club Ruby kit

As you can see, some of my calendar pages are quite simple. That's because I just want to make sure that I get my page up on my fridge and not have it become a huge project that takes too long to complete. Thanks so much for stopping by today!

Comments

I am a scrapper too and I agree with you it is the everyday moments that make life so special. These are the moments that we preserve and what a wonderful creative way to organize those special times. I used to do this and thank you for the reminder to once again get back to the basics! Thanks for joining us today at Shes A Sassy Lady and sharing these WONDERFUL - WONDERFUL pages with us.

Popular posts from this blog

Be My Valentine Blog Hop

Hello everyone and welcome to the "Be My Valentine" blog hop!! This is the first blog hop that I have had the opportunity to participate in and I've had so much fun!   If you arrived here from  Macy Bella Designs  then you're on the right track. If not or if you have missed a few blogs along the way, be sure to go to the beginning at  Creations With Kathryn  so you can see all of the great Valentine projects today!! There are even some blogs that have blog candy - (like ME!)  After you check out my project, your next stop will be  Crafty Baskets  . Now, on to my project!! I made a box to put a set of Valentine's cards in. I used a 12x12 piece of double-sided cardstock from K and Co. The cards are made with Kraft paper and are a 4x4 size. I used the Cricut Sentimentals cartridge for the postage stamp cut on the front of each card and used my Gypsy to cut them so I could unlink the H and W so it would be 3.75" square. The valentine cuts for the front of the ca

Think Spring Blog Hop

                                Welcome to the THINK SPRING BLOG HOP!!  You should have arrived here from the amazingly talented  Crafty Baskets  !  If you just happened upon my blog, be sure to go back to the beginning at  Creations With Kathryn  . She is our wonderful host for this hop!  On to my project: I decided to make a Spring mini album to showcase a few pictures that I took at the Zilker Botanical Gardens in Austin, TX.  What is more telling of Spring than flowers?!   I used the Card/Tag feature on the Paisley Cricut cartridge and used paper from the DCWV Spring cardstack. (I think this stack was from last year or maybe even the year before! :-) I'm just finally using it! )  The paper flowers throughout are from the 3 Birds Pretty Petals collection.  Read to the end of this post to find the link for the next blog to hop to and for my blog candy! This is a pic of an open page. Now for my blog candy!!  Just leave me a comment on this post with a way to contact you -

My Pink Stamper Challenge

My Pink Stamper has posted a challenge today to any and all who would like a shot at being on her design team! My project needed to use a favorite Cricut cartridge and the colors: pink, green and brown and another color of my choice. I used my Creative Memories Cheerful Seasons cartridge and my Imagine with the Mr. Frosty pattern cartridge and Snapshot Everyday cartridges. I am going to frame this project so I can always look at my sweet little, brand-new grandson!! The mat behind this adorable picture was printed and cut on my Imagine from the standard shapes on the Imagine and the Mr. Frosty cartridge. I really like this snowflake pattern! This is a close-up of the tree and layers from page 60 of my Creative Memories Cheerful Seasons Cricut cartridge and was cut at 3.5"H. I used Star Dust Stickles to make the "snow" on the tree look like it was glistening! Notice the "wood" paper for the tree trunk - this is a texture pattern on the Snapshot Everyday Imagine